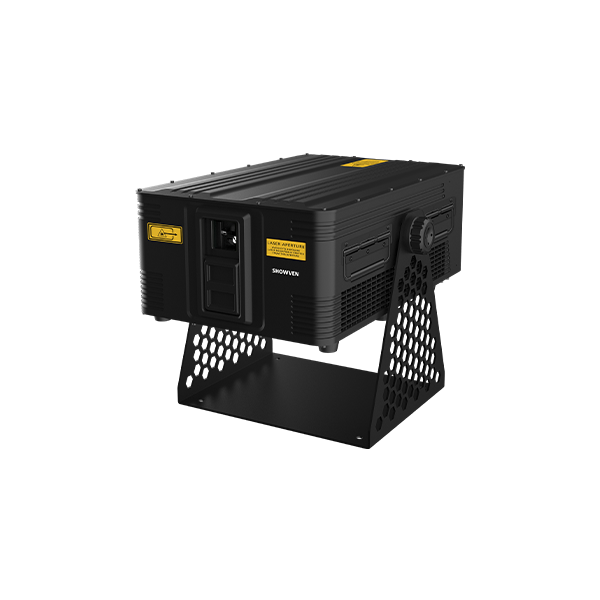
Introduction: The Night You Need the Beams to Hit
Here’s the truth: light draws a crowd. A sky laser is often the make-or-break piece when the music kicks in and heads turn up. Picture a windy fairground, slick cables, a tight call time. You need clean beams and quick load-in, not excuses. Crews say 3 in 10 delays come from power or network hiccups, and brightness drops can hit 10% or more when alignment drifts. That’s real money and mood. So why do some rigs cruise while others stall?
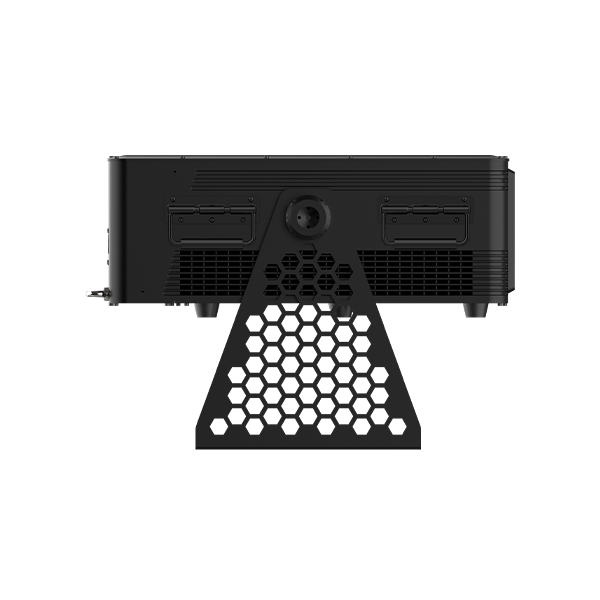
I’ve seen it across tours and pop-up shows (big and small). The gear can be fine, but small mismatches wreck the flow—wrong power converters, sloppy thermal control, scan speeds that choke under effects. One missed detail and you’re chasing noise on the line. Is there a straight way to pick, set up, and run a system that just works when the clock is loud? There is, and it’s not a mystery—just a checklist and a bit of grit.
Let’s roll into the guts and then look forward.
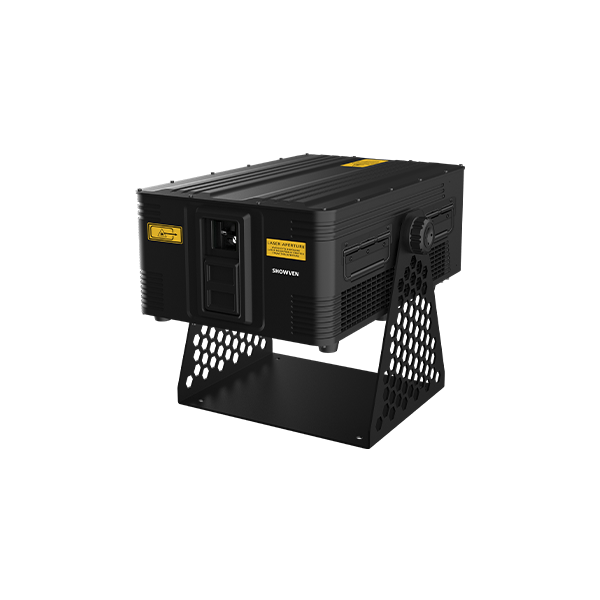
Factory Reality Check: Why Traditional Choices Bite Back
What fails first?
Inside a sky laser factory, every spec sheet looks clean. In the field, not so much. Old-school picks lean heavy on peak power and ignore duty cycle, beam divergence, and how the galvanometer holds up under layered cues. That’s where shows lose punch. Fans ramp. Heads warm. Scans clip. Then the beam blooms and fades at distance—funny how that works, right? Long cable runs add drop. Cheap power converters ripple. EMI creeps in near LED walls. And when the weather flips, thermal management becomes the surprise boss fight. Look, it’s simpler than you think: match real-world duty to thermal headroom, match scan rate to your effect stack, and keep network hops short. If you need sync across nodes, use a controller with sane clocking, not a mess of adapters. Edge computing nodes help, but only when the whole chain is stable.
Traditional fixes can be traps. Extra fans raise noise and pull dust. Heavier cables slow load-in and still sag voltage at peak draw. Bigger housings promise airflow but invite condensation unless seals and purge paths are right. You’ll hear “add more lasers,” but that multiplies points of failure and alignment time. Measure what matters: stable output at target distance, not just watts at the plug. Watch IP rating claims under actual fog and drizzle. Check scan angles under your largest aerial cues. And test modulation response so your chases don’t smear. The quiet killers are thermal throttling and drift; both eat show-time brightness without tripping alarms.
Forward Look: New Principles, Real Gains
What’s Next
The better path isn’t brute force. It’s smarter control and cleaner power—plus fewer moving parts. New rigs lean on sealed optics, active thermal loops, and dynamic power scaling that protects lasers without dulling the scene. Network timing gets tighter with PTP or GPS sync, so far-line units pop in phase. Power stages are cleaner, too, with converters that hold voltage at surge without spraying noise into your data lines. Tie this to a controller that can map effects to safe scan zones and compensate for divergence at distance. Add simple logs so you can see when heat or voltage sag, not guess. Drop in a powered laser where you used to run fat copper, and you’ve cut both load-in and loss—no magic, just less junk in the chain.
Here’s a compact case. A mid-size stadium show ran four aerial units on long feeds. They swapped a mixed bag of bricks and fans for integrated power, sealed optics, and better timing. Line checks fell by half. Output at 300 meters jumped because divergence and thermal drift were finally tamed, not band-aided. The galvanometer didn’t clip under layered cues, since scan rate matched the playlist, not the spec fairy. They logged heat and voltage, adjusted presets, and stopped chasing ghosts. Summary without the fluff: fewer parts, tighter clocks, right-sized cooling. The show looked brighter because the beam stayed tight—not because they bought “more.”
Before you choose your next rig, keep three yardsticks on the cart: 1) Effective lumens at your real throw, with beam divergence and scan angle included, 2) Thermal stability at your true duty cycle, not a lab burst, and 3) Service math—MTBF, IP rating under fog, connector life, and how fast you can swap a module mid-show. Hit those, and the rest feels easy. Close the gap between paper and pavement, and you’ll stop firefighting and start rehearsing. For deeper specs and build philosophy, the team at Showven Laser keeps it practical—because the clock does not care.