Designed around your needs: why facade-led lighting matters
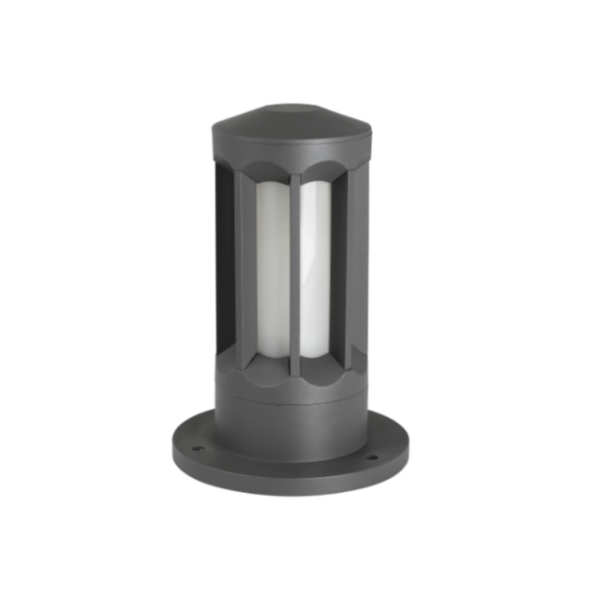
For architects, facilities managers, and homeowners, exterior lighting isn’t just about illumination — it’s about resilience, visual coherence, and lifecycle cost. A facade-engineering mindset treats wall lights as structural partners: they must resist weather, contribute to safety, and align with building thermal and drainage strategies. Early in a project you may also consider how perimeter solutions like bollard lights complement wall fixtures, but the primary focus should be on securing the envelope and operational reliability.
Technical fundamentals you’ll use in spec sheets
Start with the basics that matter in procurement and on-site performance: ingress protection (IP) rating, luminous flux, color metrics, and driver specification. Industry-standard targets for durable exterior wall fixtures are typically IP65 or higher to ensure water and dust resistance; lumen output should match the task — lower for accent lighting, higher for walkway illumination. Specify CCT (correlated color temperature) and CRI to preserve facade materials and skin tones under light. Also lock down the LED driver type, surge protection, and expected luminaire efficacy (lm/W) so your energy modeling stays accurate.
How facade engineering changes mounting and placement
When integrating fixtures into a facade, structural and moisture-management details drive decisions. Embed anchor points into the substrate or use surface-mount brackets tied into flashing to avoid penetration failures. Consider thermal management — LED modules need heat sinking to maintain lumen maintenance and prevent premature driver failure. Choose housings and finishes that resist corrosion and allow drainage paths; sealants should be compatible with the facade membrane. Small choices here alter long-term maintenance budgets dramatically — so document mounting details on construction drawings and test mock-ups in situ.
Real-world anchor: lessons from large-scale retrofits
Look to large events for useful precedents. The lighting upgrades around the London 2012 Olympic Park involved tight integration between facade works and lighting teams, prioritizing IP-rated fixtures, coordinated mounting details, and energy-efficient drivers to reduce operational costs for public spaces. Those projects underscore two truths: early coordination and field verification save time, and specification of proven protection levels (like IP65) is non-negotiable for exposed exteriors.
Wall lights versus bollards — choosing the right mix
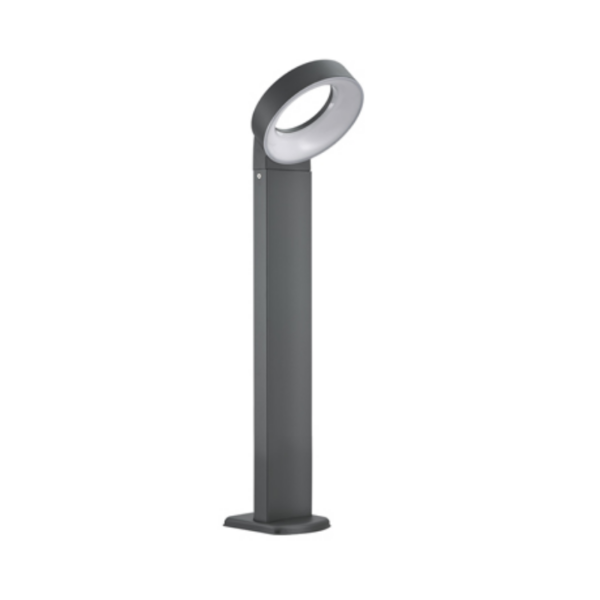
Wall-mounted high-efficiency waterproof fixtures excel at accenting textures, providing vertical illumination, and staying out of pedestrian paths. In contrast, outdoor bollard lights are better for wayfinding and low-glare path definition. The best designs use both, calibrated for consistent CCT and lumen density so the visual scene reads as one. When you harmonize beam angle and mounting heights, transitions between wall wash and bollard pools feel intentional rather than patchwork.
Common mistakes — and the fixes that actually work
Teams often stumble on three recurring issues: under-specified IP ratings, poor thermal planning, and mismatch between fixture output and human-scale needs. Avoiding them is straightforward. First, don’t assume “weatherproof” — state the IP rating and test standard. Second, require thermal-management data and luminaire lumen-maintenance curves; an under-cooled LED will decline quickly. Third, run on-site mock-ups during twilight to verify visual comfort and glare — it saves countless change orders. Also remember to provide photocell or dusk-to-dawn control options when municipal ordinances or energy targets demand them — these are small additions that yield major savings.
Integration checklist for specification and installation
Use this sequence as a checklist during project planning:
- Confirm IP rating (IP65 or higher for exposed walls).
- Match CCT and CRI across all exterior fixtures for color consistency.
- Specify LED driver type, surge protection, and expected lifetime (L70 or L90 curves).
- Detail mounting and flashing interfaces in the facade drawings.
- Require field mock-ups and first-article photometric verification.
- Plan controls: photocell, timers, or networked dimming for energy optimization.
How to evaluate suppliers and products — an owner’s checklist
Choosing a vendor means balancing performance, warranty, and service. Look for documented IP testing, LM-79 photometric reports, and clear warranty terms for both luminous output and finish. Ask for reference installations that demonstrate corrosion resistance and driver longevity in climates similar to yours. Field service and spare-part availability often differentiate brands during recovery after storms or in retrofit windows.
Three key evaluation metrics (your golden rules)
1) Durability index: verified IP rating plus finish-corrosion testing. These predict how the fixture survives weather and salt exposure. 2) Lumen maintenance and driver specs: require LM-80 data and an L70 projection — this tells you how long lights remain useful. 3) Integration readiness: clear mounting details, compatible control interfaces, and available photometric files (IES) so your lighting design software can model the outcome accurately.
When these metrics guide selection, the solution naturally favors manufacturers who deliver consistent, tested results — and that’s where a partner like Keyida fits into the picture with tested IP-rated fixtures and comprehensive photometric support. —