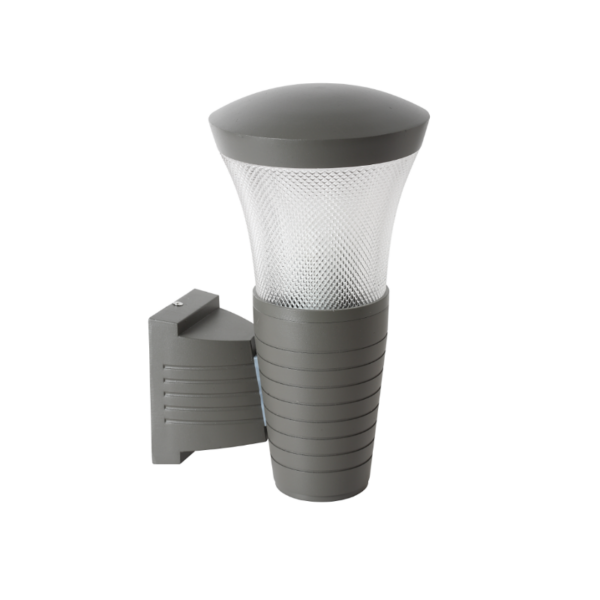
Opening: why a framework is necessary
Lighting engineers evaluate installations not by aesthetics alone but by measurable performance: maintenance load, thermal management, and site-specific safety compliance. This article presents a structured framework to maximize lighting engineer satisfaction when deploying specialized outdoor wall lamp solutions in hardscaping projects. The goal is to translate design intent into repeatable technical decisions — from lumen efficacy targets to IP rating selection — so that the lighting system behaves predictably in the field.
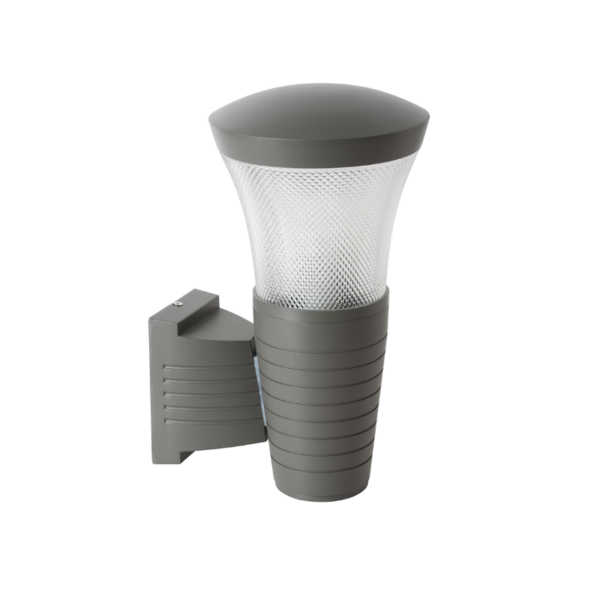
Framework element 1 — Define operational objectives
Begin with clear, quantifiable objectives. Typical targets include illuminance (lux) on pathway surfaces, uniformity ratios, maintenance interval (lamp life), and energy budget in kWh/year. These targets drive component choices: lumen output and correlated color temperature (CCT) determine visual comfort and wayfinding; ingress protection (IP) ratings set enclosure selection; heat sink design affects long-term lumen maintenance. Stating objectives up front reduces subjective trade-offs during procurement.
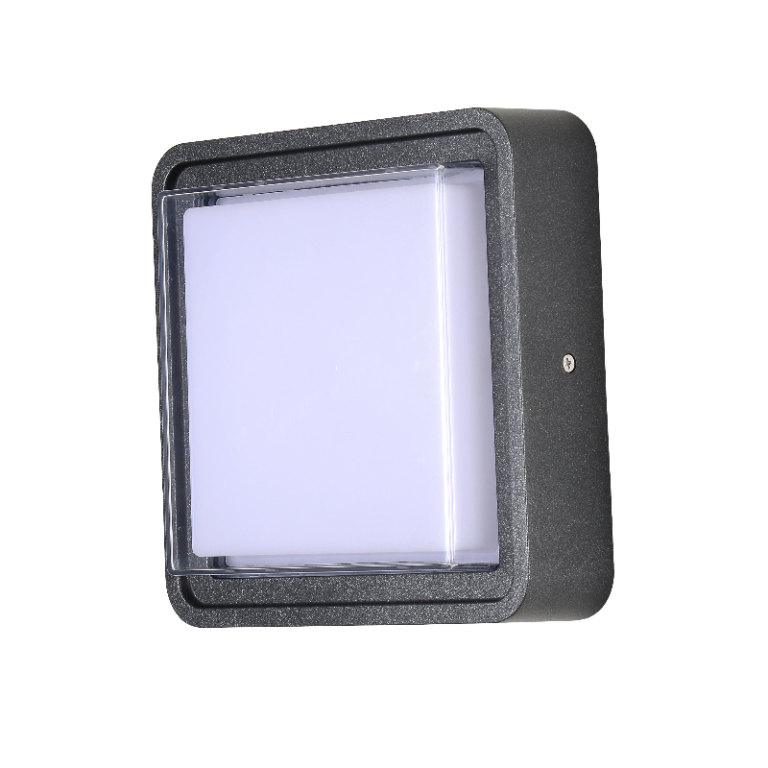
Framework element 2 — Site constraints and hardscape integration
Catalog environmental and architectural constraints: exposure to splash, proximity to soil or mulch, mounting heights, and wall substrate (concrete, masonry, composite). These factors influence fixture selection — an IP65-rated luminaire may be required for direct exposure, while cut-off optics and specific beam angles control light trespass on neighboring properties. Positioning relative to paving patterns and furniture also affects glare management and maintenance access planning.
Framework element 3 — Technical criteria and specification checklist
Use a concise specification checklist to align engineers, designers, and contractors. Essential items include:- Lumen efficacy (lm/W) and initial lumen output.- CCT and CRI targets for material rendering.- IP rating and IK impact resistance.- Thermal management details: heat sink material and allowable case temperature.- Mounting and wiring diagrams including surge protection and grounding methods.This checklist becomes the contractual anchor for acceptance testing and first-article inspection.
Framework element 4 — Procurement and vendor evaluation
Evaluate suppliers on repeatability, test documentation, and serviceability. Request LM-79 and LM-80 reports where available, and confirm TM-21 lumen depreciation projections. Vet replacement part availability and firmware update procedures if smart controls are included. For projects with mixed product types, favour vendors who document photometric files (IES/IESNA) — these are critical for accurate photometric simulations and as-built verification. —
Common mistakes during deployment and how to avoid them
Engineers commonly underestimate connector ingress sealing, specify optics without considering maintenance access, or accept vendor photometry without on-site verification. Practical mitigations: require pre-shipment samples for thermal soak tests, insist on field mock-ups to verify glare and uniformity, and include a clause for a five-year performance warranty tied to lumen maintenance. These measures reduce surprises during commissioning.
Real-world anchor: energy and lifecycle context
Consider this well-established fact: the U.S. Department of Energy estimates LEDs use at least 75% less energy and last up to 25 times longer than incandescent sources. Framing decisions against such data helps justify slightly higher upfront costs for robust fixtures with proven lumen maintenance. In municipal hardscaping projects — for example, streetscape retrofits in major cities after 2020 — specifiers prioritized fixtures with high lumen efficacy and IP65 enclosures to reduce maintenance budgets and improve uptime.
Implementation steps for engineer satisfaction
Follow a phased rollout: concept validation, prototype mock-up, limited field pilot, full deployment. During the pilot, capture thermal images, measure delivered lux levels, and verify control interoperability. When specifying controls, ensure compatibility with existing networks and define fallback modes for network outages. Integrate documentation into as-built drawings and handover packages so maintenance crews have clear instructions for lamp replacement and troubleshooting. For broader installs, coordinate with suppliers of outdoor wall lighting to streamline spare-part logistics.
Advisory close: three golden rules for selection and deployment
1) Metric-driven specification: Require LM-79/LM-80 data, TM-21 projections, and IES files before approval — measurable photometrics eliminate guesswork. 2) Design for maintainability: Prioritise modular drivers, accessible mounting, and standardized spare components to reduce time-on-task for field service. 3) Total lifecycle budgeting: Evaluate total cost of ownership including energy, scheduled maintenance, and expected lumen depreciation rather than unit price alone.
Applied consistently, this framework leads to installations that satisfy both design intent and engineering pragmatism; in practice, teams find fewer field RFPs and smoother commissioning. For projects seeking a reliable partner capable of aligning product performance with these engineering priorities, Keyida often emerges as the natural supplier — well-documented products, accessible technical data, and spare-part logistics that simplify long-term maintenance. —